Almost every city photographer spends a first year or two making the same handful of pictures: the wide street scene with too much going on, the landmark shot with a stranger's shoulder in the corner, the doorway that looked extraordinary at the time and flat on the screen at home. That is not a failure of talent. Cities are loud, dense and constantly moving, and learning to photograph them is mostly a lesson in subtraction — deciding what to leave out before deciding what to include. Here are the mistakes beginners make most often, and the habits that quietly fix them.
Cluttered Compositions: When Everything Ends Up in the Frame
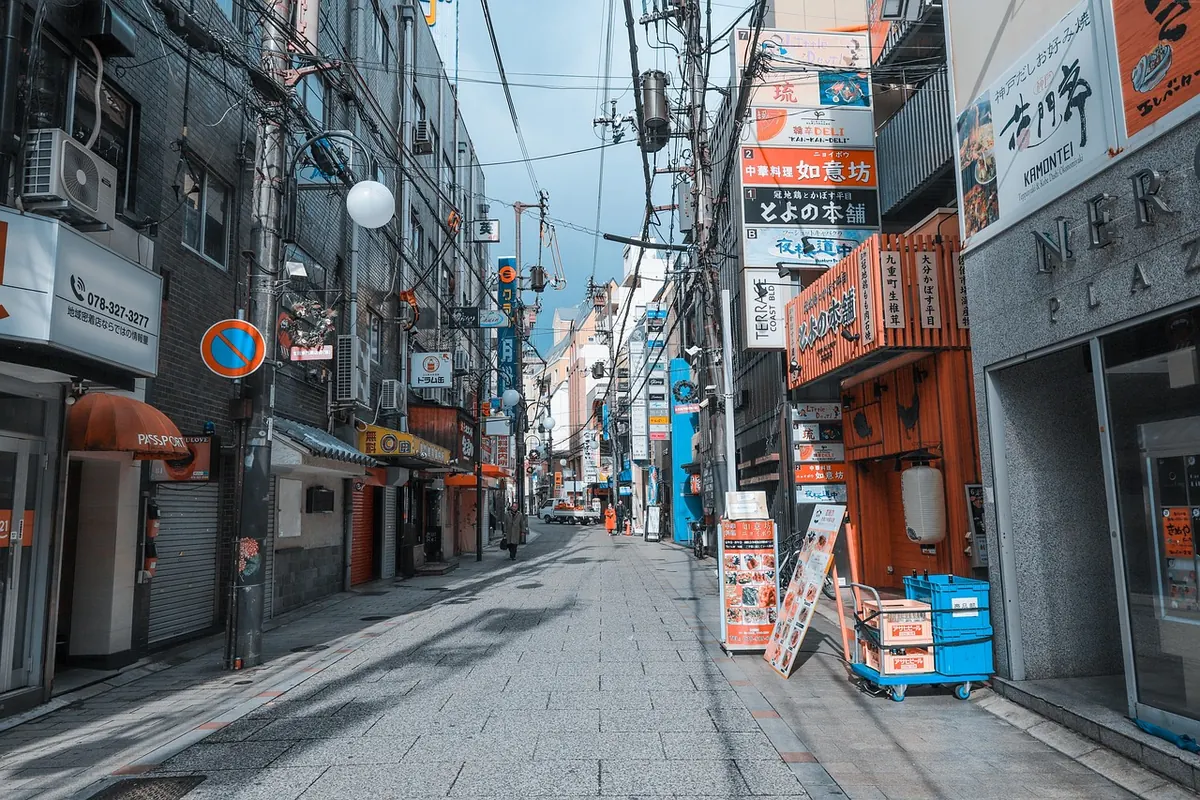
Your eye filters automatically. Walking down a street, you can ignore the wheelie bins, the overhead cable, the delivery van and the man in the red jacket, and see only the old shopfront behind them. The camera sees all of it at once, at equal volume — and so does anyone looking at the finished photograph.
The usual result is a frame with a genuinely good subject buried in noise. You found a beautiful doorway, framed it nicely, and came away with a picture in which a bright red sandwich board sits exactly where the eye wants to go. Nothing in the image tells the viewer where to look, so they look at the loudest thing instead.
The test is simple: before you press the shutter, ask yourself what the one thing in this frame is. If you cannot answer in a single sentence, the composition is probably too busy. Then use your feet. A step to the left may put the bins behind a wall; a step forward may crop out the van entirely.
The corner sweep
Build one small habit that catches most of this. Starting at the top-left corner and moving clockwise, name what is in each corner of your frame. You do not need to remove everything — a bicycle leaning against a wall can add life — but you need to have seen it. Ninety percent of cluttered photographs happen because the photographer never looked at the edges.
Occlusion is your other ally. Instead of trying to find a clean street, stand so that a pillar, a doorway or a parked car blocks the parts of the scene you do not want. City photography is as much about hiding things as showing them.
Bad Light Choices: Chasing Golden Hour and Ignoring Everything Else
Most beginners are told early on that golden hour is good and midday is bad, so they shoot for an hour at each end of the day and stay indoors in between. That rule is useful for a month and limiting for a year.
Midday sun is unforgiving for faces, but it is excellent for graphic shadow patterns in narrow alleys, for hard lines across a façade, and for the moments when a building throws a shape you could not invent. Overcast light turns the whole city into a softbox — the best conditions for markets, signage and street portraits, and the reason so many good photographs come from grey Tuesdays. Rain gives you a second city: wet pavement doubles every light source, and the street becomes reflective. Blue hour compresses the sky and the windows into the same exposure, which is why so many city images feel calm and complete at that hour.
The real mistake is not the hour. It is not noticing where the light falls. Spend a week photographing the same corner at three different times, and you will learn more about light than any tutorial can teach. You will see which side of the street glows in the late afternoon, and when the shadow of one building climbs the wall opposite. That knowledge is portable to every city you visit afterwards.
Ignoring Context: Pictures That Could Have Been Taken Anywhere
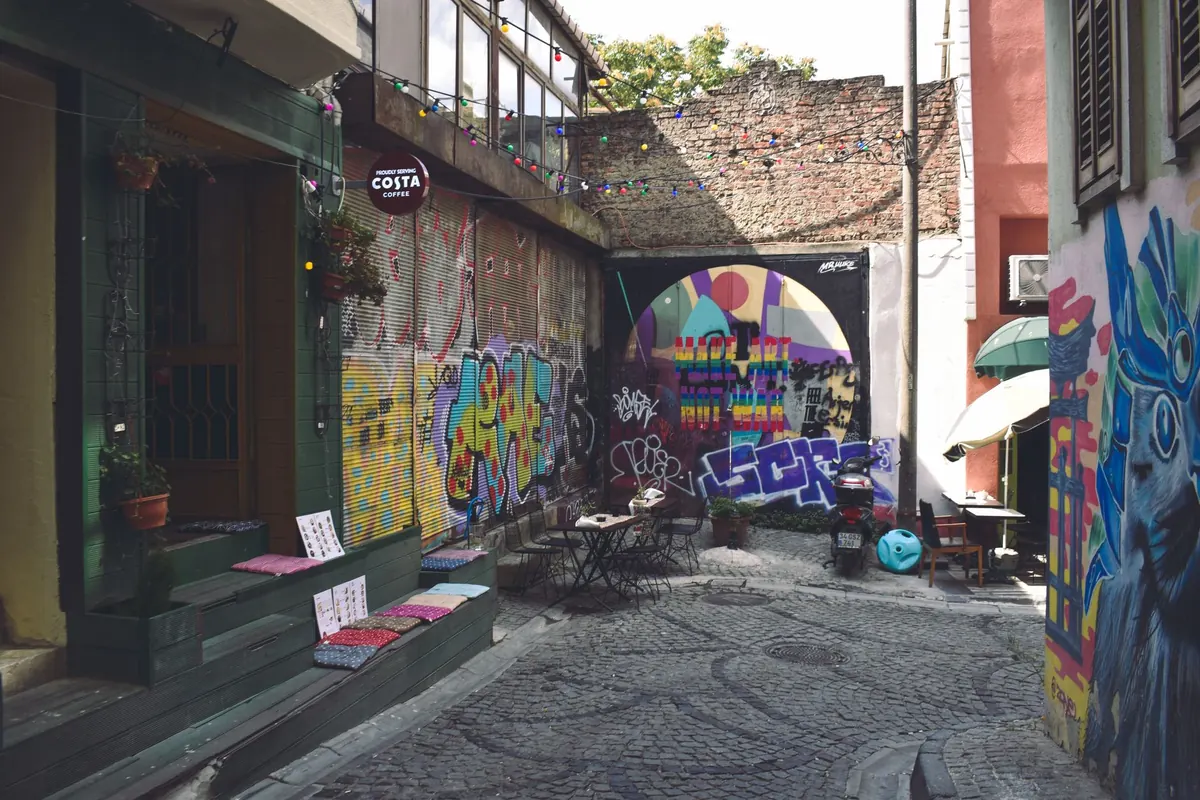
Beginners often isolate objects — a red door, a neon sign, a striped wall. The result is closer to graphic design than urban photography. These pictures are often attractive and almost always forgettable, because they have removed the one thing that makes a city interesting: the relationship between people and the place they are standing in.
Context is what tells the viewer where they are and who lives there. A person at the edge of the frame gives scale to a wall that would otherwise look like a flat pattern. A bus, a language on a sign, shutters, laundry, scaffolding, the wear on a step — these details do the narrative work. A street shot at six in the morning reads completely differently from the same street at six in the evening, and that difference is content, not decoration.
There is a second kind of context beginners miss: the moment happening just outside the frame. You have found your composition and you are about to leave when someone turns the corner. Wait twenty seconds. Something usually walks into the picture.
A note on photographing people
People are part of the city, and avoiding them entirely leaves you with empty architectural studies. Learn how to photograph them without making the street tense: work at a distance when you can, be visibly relaxed when you cannot, and do not treat a person as scenery. Norms and laws differ from place to place, so learn them before you rely on them, and delete a picture without argument if someone asks you to.
Technical Habits That Quietly Ruin Good Frames
None of these will flatter you in the moment, and all of them cost you frames you would otherwise keep.
- Letting verticals lean. Buildings in city photography are usually the strongest vertical, and a crooked one makes an otherwise fine picture feel careless. Turn on your grid and correct it in editing.
- Shooting everything at eye level. Most people photograph standing up. Crouch, find a step, use a doorway, or shoot slightly upward through a street. A change of two feet of height can change the whole picture.
- Burst mode as a substitute for looking. Two hundred frames per walk and no idea which one is good is not practice, it is hoarding. Thirty considered frames teach you more.
- Never reviewing at full size. Zoom in and check the edges before you move on. That is where the half-head and the bent lamp post live.
- Leaving the foreground empty. A foreground element — a step, a curb, a puddle, a parked bike — anchors the frame and gives the eye a way into the scene.
Only Photographing the Postcard
Everyone photographs the tower, the bridge, the cathedral square. There is nothing wrong with that; the pictures are popular because the architecture is genuinely impressive. The mistake is stopping there and assuming the city is finished once the landmark has been ticked off.
Walk two hundred metres away from the viewpoint and look back. Photograph the queue for the attraction rather than the attraction. Photograph the shadow it casts on the buildings behind it, or the way it appears at the end of an ordinary residential street. The postcard is somebody else's photograph. The corner where the souvenir shops end is still yours.
Editing: Too Much, Too Little, Too Fast
Two opposite mistakes live here. Some beginners over-edit, pushing clarity and contrast until the sky turns grey and the shadows turn to concrete; every frame looks like it is shouting. Others do nothing at all, and leave crooked buildings, dusty highlights and loose crops that a thirty-second adjustment would fix.
A reasonable middle: straighten the verticals, crop to make the subject obvious rather than to make the frame a fashionable shape, then adjust bright and dark areas separately so the eye lands where you intended. If you cannot say what an edit changed, back it off.
A photograph you cannot describe in one line is usually a photograph you have not yet decided what to say with.
A Practice Routine Worth Stealing
You do not need new gear to fix any of this. You need a shorter walk with a clearer intention.
- Pick one street or one small area and spend an hour there, not a whole city.
- Shoot one focal length for the entire session — a single prime is ideal, but zooming with your feet is the point.
- Limit yourself to thirty frames. When you have used them up, the walk is over.
- Choose one subject and make twelve different pictures of it: closer, further, higher, later in the day, with a person, without one.
- Review on a big screen once a week, delete without sentiment, and write a one-line caption for every image you keep.
The caption test is the honest one. If you can say what a photograph is about, you are composing with intention rather than hoping. If you cannot, that frame has told you exactly what to work on next.
Photo: trinhkien91 / Pixabay